A vacuum cleaner is an essential household appliance that helps maintain cleanliness and hygiene. However, over time, its hose can become damaged or clogged, affecting its efficiency. In this guide, we will walk you through the process of vacuum cleaner hose repair, providing you with practical steps to fix, clean, and maintain your vacuum hose.
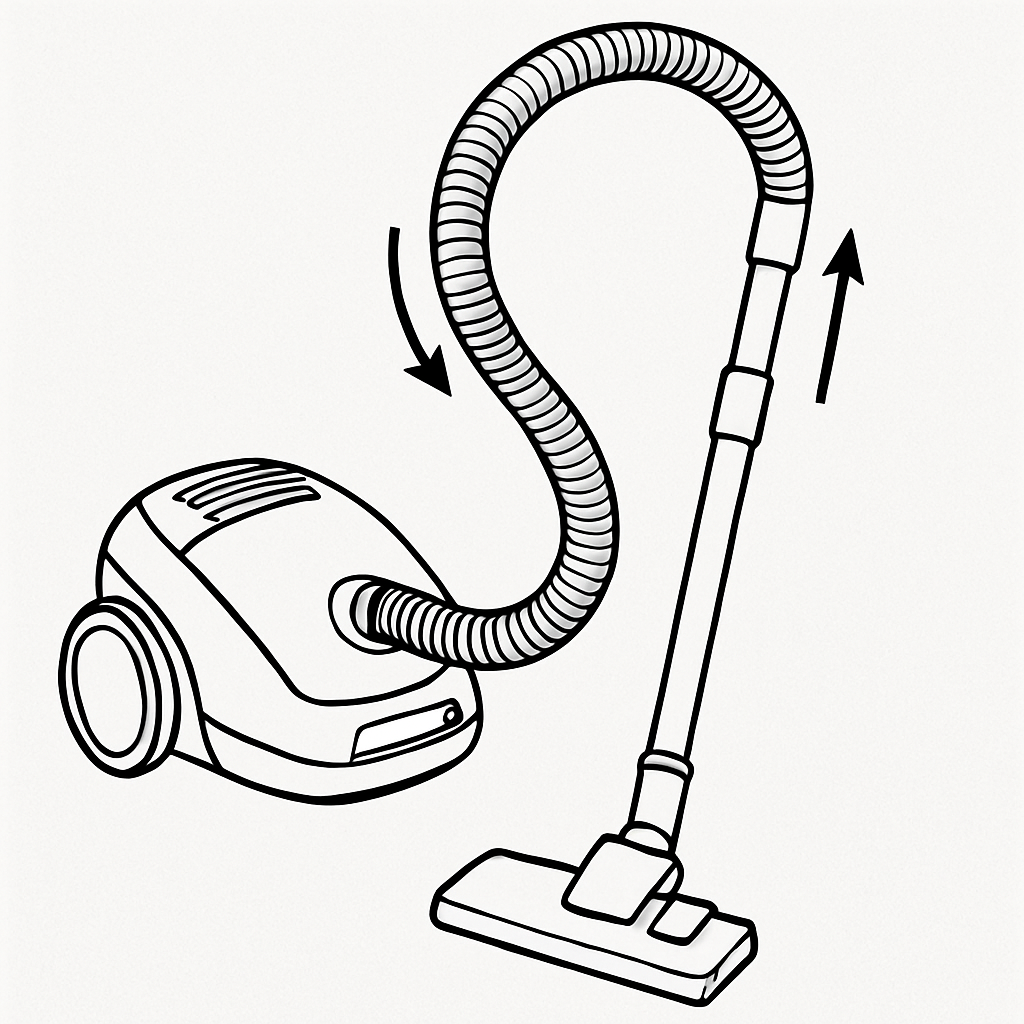
A vacuum cleaner hose is a flexible tube that connects the cleaning head to the main body of the vacuum. Its primary function is to transport dust and debris from the cleaning head to the dust bag or canister. However, due to frequent use, the hose is susceptible to wear and tear, which may result in loss of suction or complete failure.
Common Hose Problems
- Before diving into repairs, it’s important to identify common issues that vacuum hoses face:
- Clogs: Accumulation of dirt and debris can lead to blockages.
- Cracks or Holes: Physical damage can result in air leaks, reducing suction.
- Loose Connections: Detachment from the vacuum cleaner or cleaning head.
How to Fix a Vacuum Hose
Step 1: Identifying the Problem
Begin by examining the vacuum hose for visible damage. Run your hand along the length of the hose to feel for any cracks or holes. If the suction is weak, listen for unusual hissing sounds, which may indicate an air leak.
Step 2: Cleaning the Vacuum Hose
Materials Needed:
Dish soap
A long, flexible brush or broom handle
Warm water
Cloth
Steps:
Detach the Hose: Remove the hose from the vacuum cleaner by unscrewing or unclipping it.
Rinse with Water: Run warm water through the hose to dislodge loose debris. Hold one end of the hose under the faucet and let the water flow through.
Use a Brush: Insert a long brush or broom handle wrapped with a cloth into the hose. Move it back and forth to scrub the interior walls and remove any stubborn dirt.
Soap and Water: Fill a basin with warm, soapy water and submerge the hose. Swirl it around to ensure the soap reaches all areas.
Rinse Thoroughly: Rinse the hose again with clean water to remove soap residue.
Dry Completely: Hang the hose vertically to dry. Ensure it’s completely dry before reattaching it to the vacuum.
Step 3: Repairing Cracks or Holes
If the hose has small cracks or holes, you can attempt a DIY repair using the following materials:
Materials Needed:
Duct tape or electrical tape
Scissors
Silicone sealant (optional).
Steps:.
Locate the Damage: Identify the exact location of the cracks or holes.
Apply Tape: Cut a piece of duct or electrical tape long enough to cover the damage. Wrap it tightly around the hose, ensuring full coverage.
Seal with Silicone: For a more durable fix, apply a thin layer of silicone sealant over the tape. Allow it to cure according to the manufacturer’s instructions.
Step 4: Ensuring Tight Connections.
Loose connections can also be a source of suction loss. Check the ends of the hose for signs of wear or damage. If necessary, replace any worn-out gaskets or O-rings to ensure a snug fit.
Preventative Maintenance Tips.
To prolong the life of your vacuum hose and ensure optimal performance, consider the following maintenance tips:.
Regular Cleaning: Clean the hose periodically to prevent clogs and maintain suction power.
Avoid Overstretching: Do not pull the hose beyond its limit to prevent tears.
Store Properly: Store the vacuum cleaner and its hose in a cool, dry place to avoid damage from environmental factors.
Inspect Regularly: Check for signs of wear and tear and address issues promptly.
When to Replace the Vacuum Hose.
Despite your best efforts, there may come a time when repairs are no longer effective. If the hose is heavily damaged or if you experience persistent suction issues, it may be time to invest in a replacement. Many manufacturers offer replacement hoses that are compatible with specific vacuum models. Always ensure you purchase the correct size and type of vacuum cleaner for your needs.
Need to replace the high-quality floor scrubber hoses >>>
Also need to find parts of a vacuum cleaner >>>
Conclusion.
Repairing a vacuum cleaner hose is a straightforward process that can extend the life of your vacuum and save you money. By following the steps outlined in this guide, you can fix common hose problems, clean the hose effectively, and perform preventative maintenance to keep your vacuum running smoothly. Remember, regular maintenance is key to ensuring the longevity and performance of your vacuum cleaner.
By taking the time to care for your vacuum hose, you’re investing in a cleaner and healthier home environment. Happy cleaning!