You may represent a large janitorial service company that cleans a wide variety of areas for a number of different businesses. Alternatively, you might be a small business owner who only has to do the floors of a single medium-sized room. No matter what kind of firm you represent, though, you’ll find all of the floor machines you need at last. We have 5 recommendations for your commercial floor scrubber maintenance.
Recognize and Understand floor Scrubber Components
Though each machine is unique, here are some general floor scrubber terms that every scrubber owner or operator should be familiar with:
- Scrub Head. The scrub head consists of the main brush that is situated at the front of a floor scrubber. A floor scrubber can be configured into a cylindrical machine or disk machine.
- Hopper. A hopper is a small, perforated troth located behind the cylindrical brushes on the scrub head that collects debris while the machine is operating
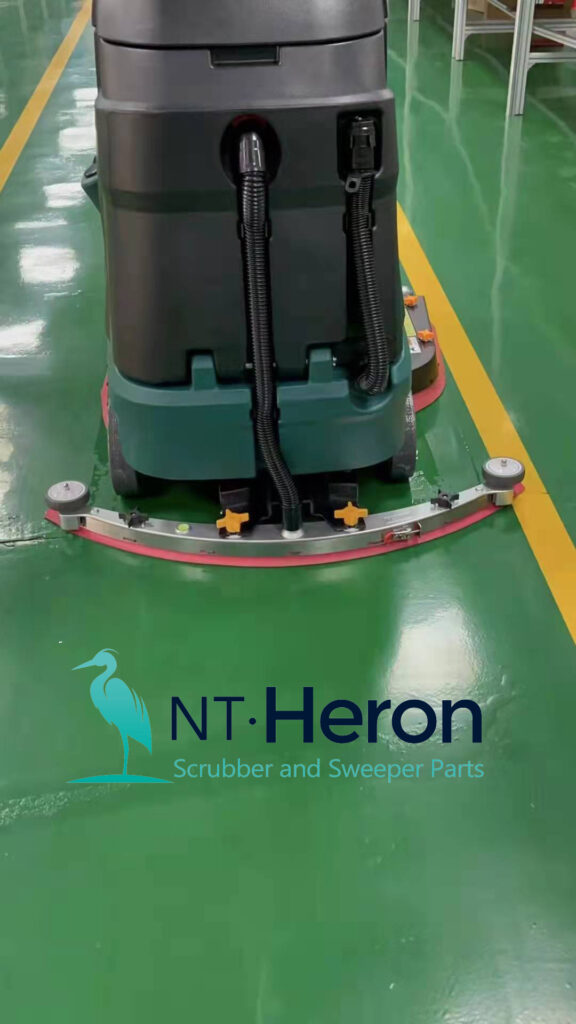
- Squeegee Assembly. As the machine moves forward, the squeegee removes the dirty water and moisture that remains after the brushes on the scrub head clean the floor. One of the benefits of using a floor scrubber is its ability to leave the floors dry after cleaning. A quality squeegee assembly removes the maximum amount of water and is a very important part of an effective floor scrubber.
- Vacuum System. The vacuum system is the part of the scrubber that allows the squeegee to suck up the excess water and moisture from the floors.
- Solution System. The solution system is an automated system that dispenses the water and/or cleaning chemical solution. The clean solution is fed from the solution tank down to the scrub head where it is dispensed onto the floor for cleaning.
- Recovery System. The recovery system includes the recovery tank where the dirty water that has been collected is stored.
- Power System. Floor scrubbers can be battery-powered, cord-operated, internal combustion-powered, gas, LP, or diesel-powered
- Operational Interface. The operational interface is the part of the machine that the operator interacts with when the machine is in use.

Cleaning the Floor Scrubber Squeegee
Check the squeegee daily and clean as necessary. The details are as below:
1. Pull off the suction hose
2. Loosen the two star-shaped knobs
3. Remove the squeegee
Replacing the Squeegee Blades
Check the inner and outer squeegee blades on the squeegee weekly for signs of wear. The squeegee blades can be reused by turning them.
No single squeegee material is best for every cleaning application. The squeegee materials below are best used in different environments: The floor scrubber squeegee blade needs to be replaced after a while. Floor scrubbing machines are usually used in spaces like hospitals and restaurants which are big and require spotless cleaning. They may need frequent replacement to keep providing spotless cleaning depending on the use of the blades. It is also easy to replace them because they are highly inexpensive.
The squeegee has two squeegee blades. The front blade has two wiping edges. To use both of them, rotate the blade end-for-end. The rear blade has four wiping edges. To use them all, start with one wiping edge. To use the next wiping edge, rotate the blade end-for-end. To use the next wiping edge, rotate the top edges down, bottom edges up. To use the last edge, rotate the blade end-for-end. Replace any worn or damaged squeegee blades.
Adjusting the Floor Scrubber Squeegee Blades Angle Adjustment
Poor squeegee adjustment costs the cleaning industry hundreds of thousands of dollars each year in extra labor, increased frequency of stripping and sealing, and lost contracts through dirty or yellowed floors.
1. The angle adjustment is the decisive factor in ensuring that the squeegee blades on the squeegee lie evenly on the floor Park the machine on a level surface and lower the squeegee.
2. Loosen the lower wing nut on the adjusting screw and adjust the squeegee using the adjusting screw so that the ends of the squeegee blades still have contact with the floor. By turning the adjusting screw counterclockwise, the clearance between the squeegee blade and floor is increased in the center. When turning the adjusting screw clockwise, the clearance between the squeegee blade and floor is reduced in the center.
3. Switch the machine on and check the suction pattern. When the machine is in operation, the entire surface of the squeegee blades must be applied as evenly as possible.
4. Tighten the lower wing nut on the adjusting screw against the metal bracket to lock in the pitch setting.
Pay More Attantion After Each Use
- Empty and clean the recovery tank.
- Empty and rinse the solution tank.
- Remove and clean the solution tank filter.
- Remove and clean the brush or pad.
- Clean the squeegee blade when you finish cleaning
- Clean the machine inside and outside
- Turn the machine power off and recharge the battery
Many common replacement parts include brushes, vac motors, electrical switches & parts, pad drivers, pad holders, batteries, and accessories. Will show you more articles. Please follow us.